Barnett Butterfly Scow: Repairing The Boom Block and Toe Rails Right
Article By Mark Suszko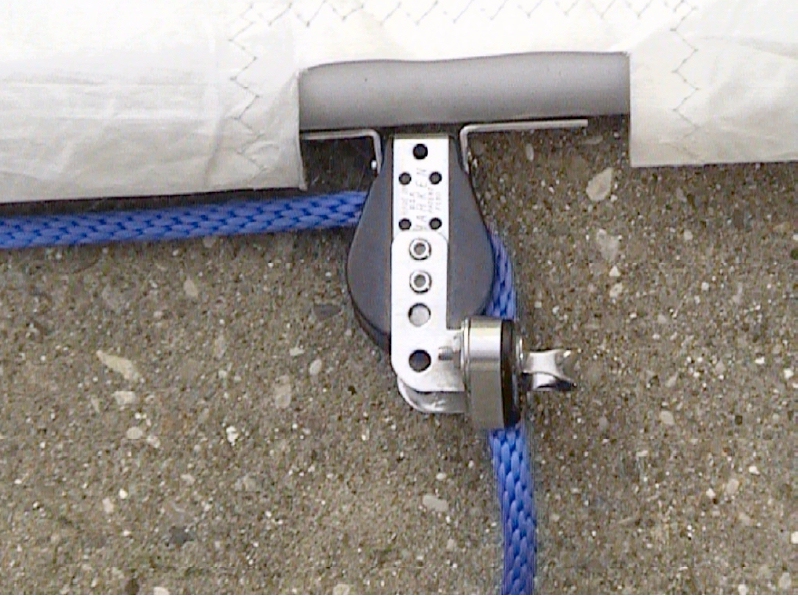
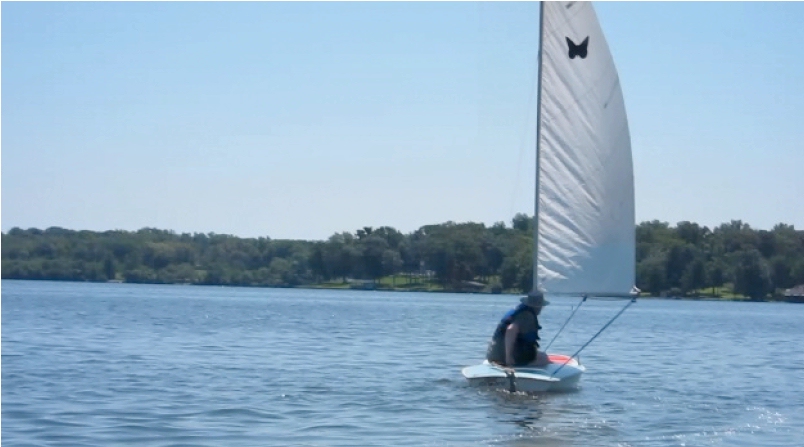
The boom originally came fitted with a ratcheting block that could lock the sheet in place or unlock with a jerk forwards.
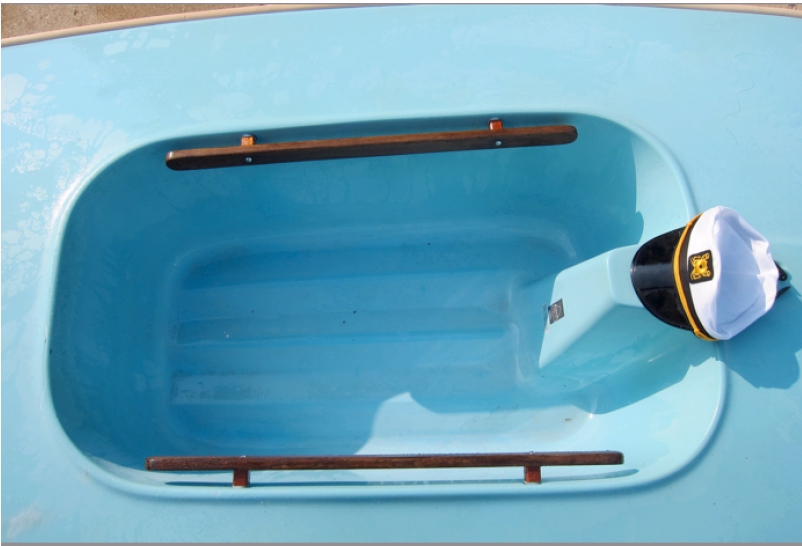
While learning, I first thought this would be a help, but I found it easier to control the sheet with a plain block and no locking mechanism. It made me faster at sheeting-out and prevented excessive boat heeling (and maybe capsizing) in a strong puff, if I couldn’t adjust to conditions fast enough. On the Butterfly boom there are two places for a mainsheet block: when you’re alone, you tend to use the aft-most point for leverage, though it passes pretty close to your face if you’re not careful, and when racing with a crew, they typically use the more forward spot for the block, the crew runs the sheet, and leaves the tiller to the captain.
The most forward spot on the boom is for the optional vang attachment.
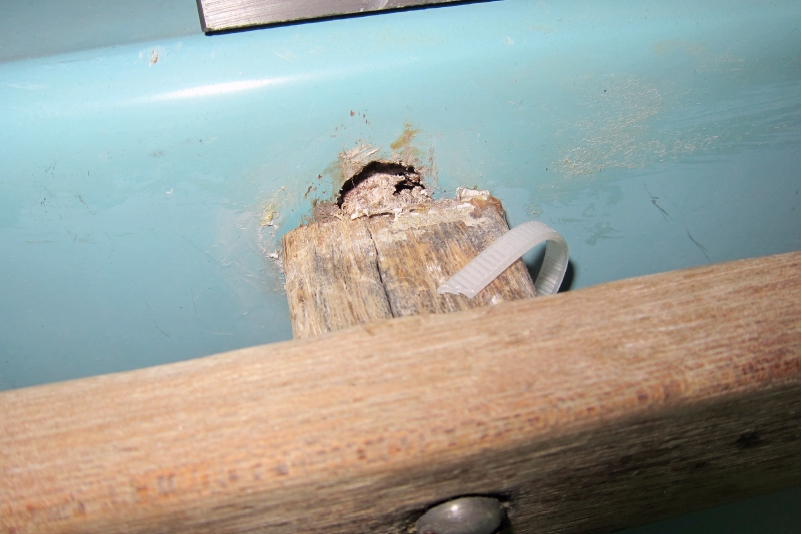
So I sailed Fast Forward in fits and starts for two short seasons, and I got tired of the sad condition of the toe rails. These are the most common places on an old Butterfly where something goes wrong. They are designed to work in tension, more than shear, so you shouldn’t use them as carrying handles for the boat. What happens over time is that the small wooden spacer blocks that stand the rail off from the hull, degrade and crack and even fall away, leaving loose, floppy rails and an opening for water to get into the hull.
When an owner tries to fix this, they start by unscrewing the retaining bolts. Those bolts terminate in a threaded metal plate that is supposed to be bonded inside the hull. But in older boats, these plates often have broken loose, and when the bolt comes off, the plate just falls away into the hull, impossible to recover without taking the entire deck off, or boring a hole for an inspection port into the inner hull to gain access, then fitting it with a cover.
While access holes with covers can be handy, for checking for internal leaks, or to convert into storage “glove bags”, there are only a few places in a Butterfly where cutting such a hole doesn’t compromise some structural integrity. And I really wanted to keep this boat stock-looking in appearance. So I had to find another way. Jim Young Sailing (one of the top experts on the Butterfly, and a nice guy too) recommends drilling a tiny hole below the bolt hole and trapping the plates with a self-tapping screw, before removing the rails. I planned to use that technique, but found out that one of the many previous owners had already lost all the plates, and his quick-and-dirty repair was to use toggle bolts.
This is bad design because the toggle wings concentrate all the structural load onto two very tiny spots, and lead to cracking the fiberglass.
I devised a system on my own that did not require major surgery, it was more like arthroscopic surgery.
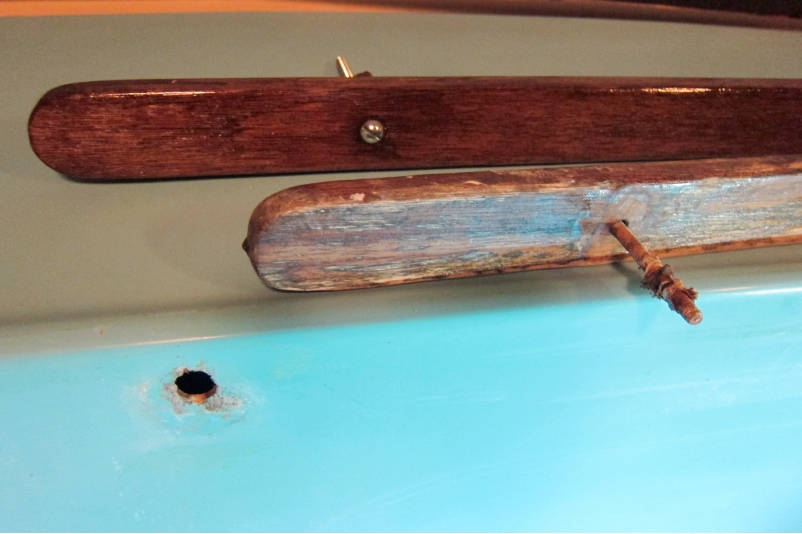
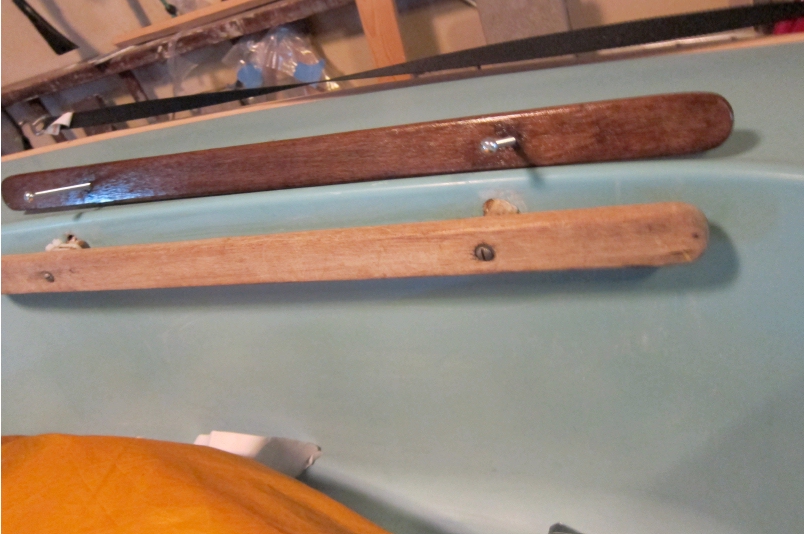
Step one was getting the old rails off and cleaning up the wood and re-finishing it.
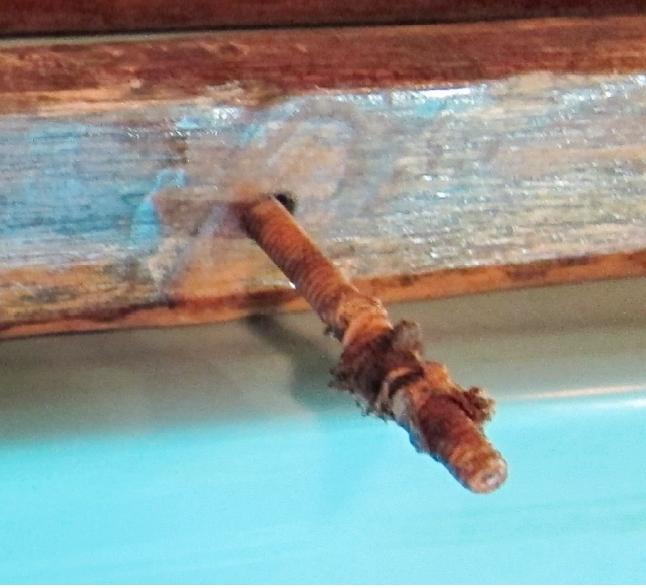
This bolt was so rusty I had to cut it off.
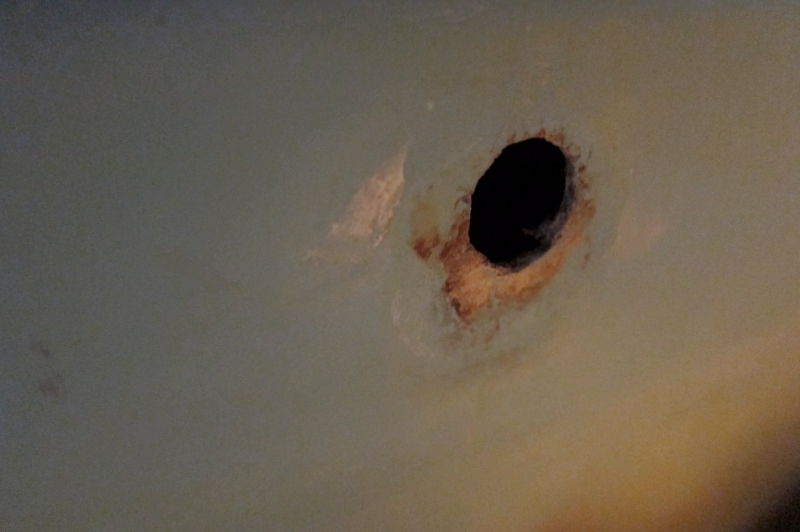
The hole in the hull was nasty from old caulk, but some “Barkeeper’s Friend” cleaned it right up. Barkeeper’s Friend is what I use on all the glass parts of the boat to clean without scratching.
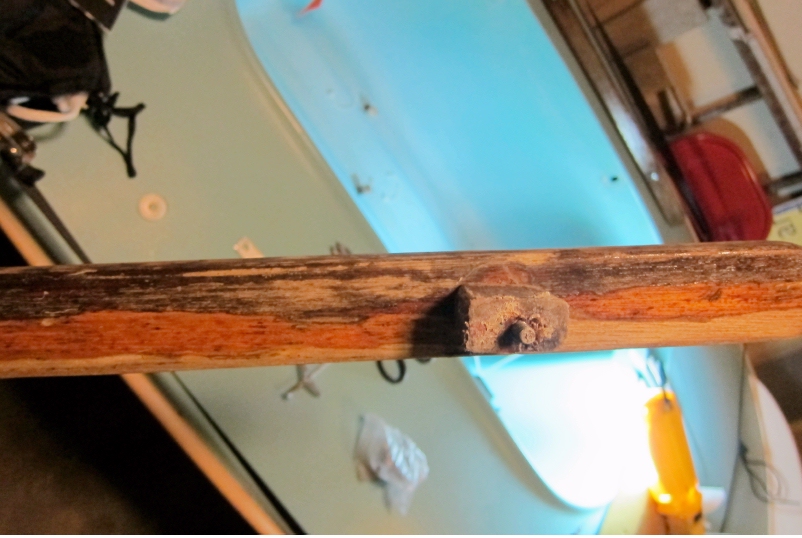
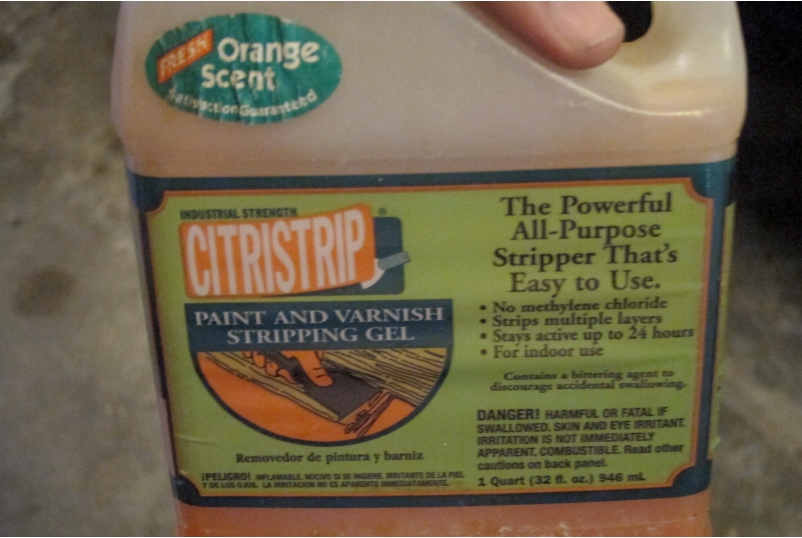
The wood gets a coat of this citrus-based stripper product, which is AMAZING. Also smells good and has no VOC’s.
Two coats of Polyurethane spar varnish and good as new!
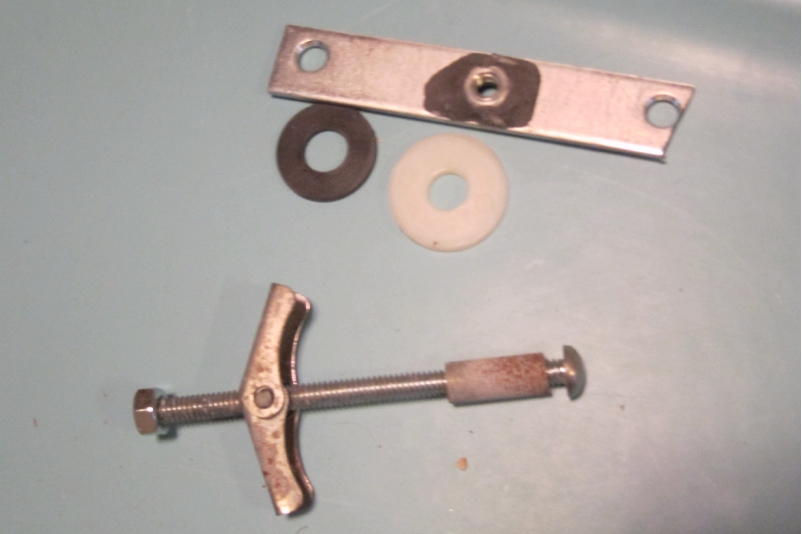
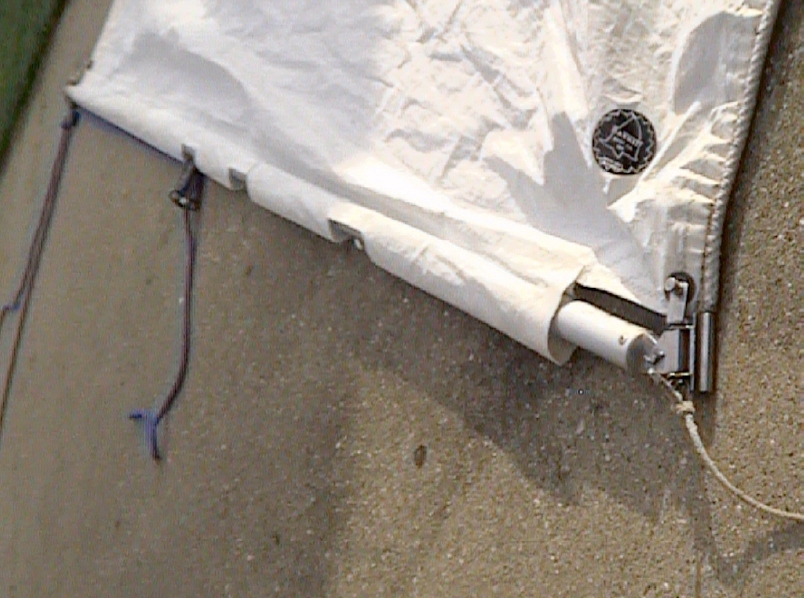
The picture shows the only 1 of 4 original toggle bolts that didn’t corrode to heck, and my new plate system.
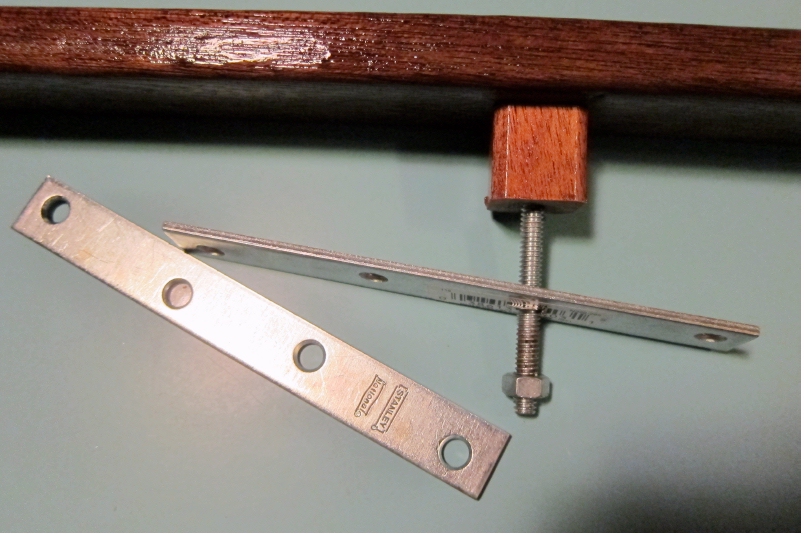
The new bolt mountings use these inexpensive steel mending plates. They just barely fit thru the existing bolt holes in the inner hull.
I used JB weld to attach a nut to the plate.
This is the new rig just before you put it in the hull.
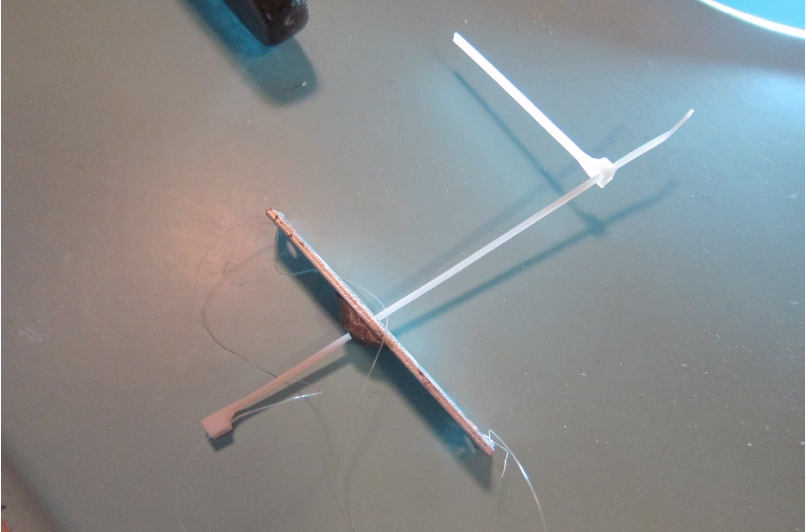
I almost lost the first plate on my first try at installation, then I mocked up a simulator out of a clamped board, to practice my technique.
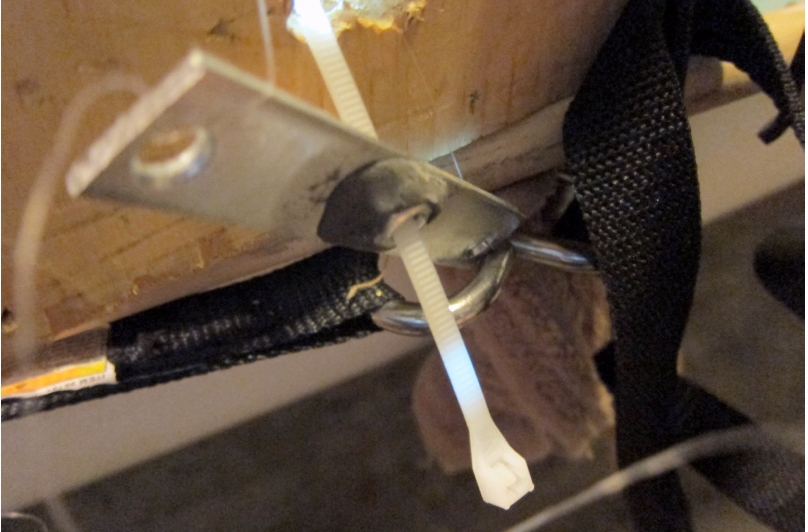
This is the view if you were inside the inner hull, seeing the plate coming in from outside and going into position.

The technique uses fishing line to “puppeteer” the plate into position.
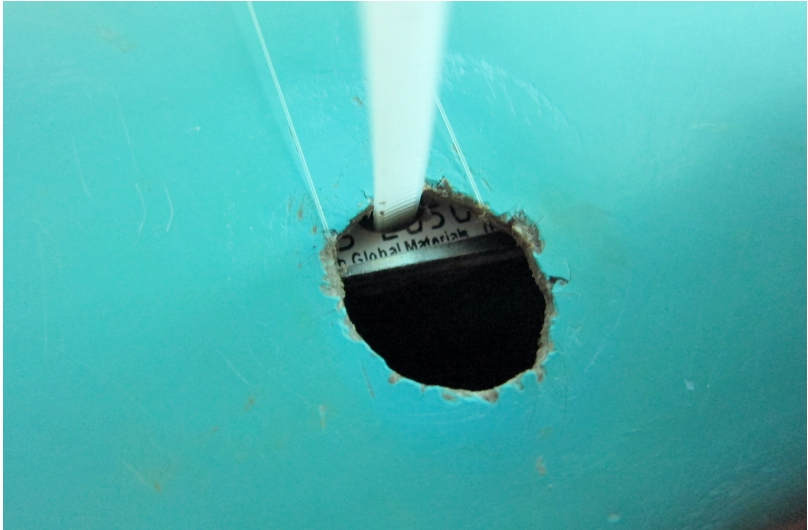
A coating of epoxy or gorilla glue goes on the back. The gorilla glue, activated with a water spritzer, will foam up and make better contact on the inside of the hull. It’s extremely sticky stuff, though, so have some acetone on hand to clean up any drips before they harden.

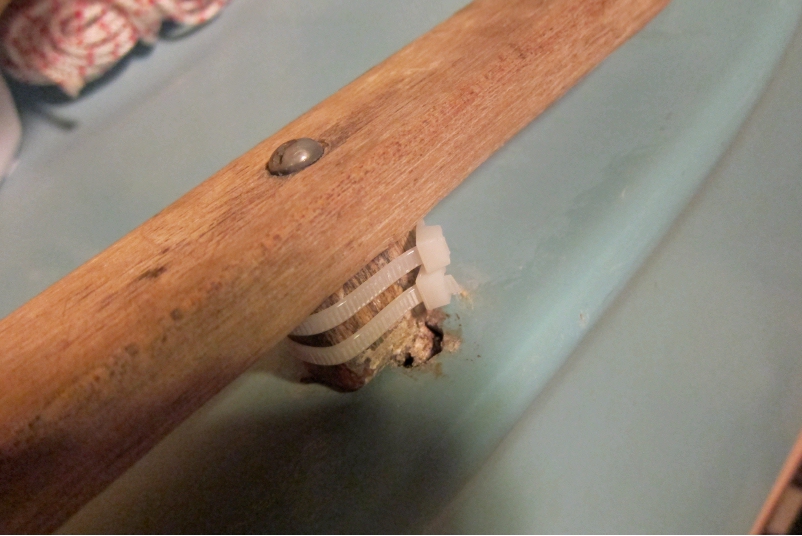
The zip tie is a safety device to keep from losing the plate if a fishing line snaps. When the plate is in place, a couple of strong magnets from Harbor Freight help clamp and hold it so the glue can set.
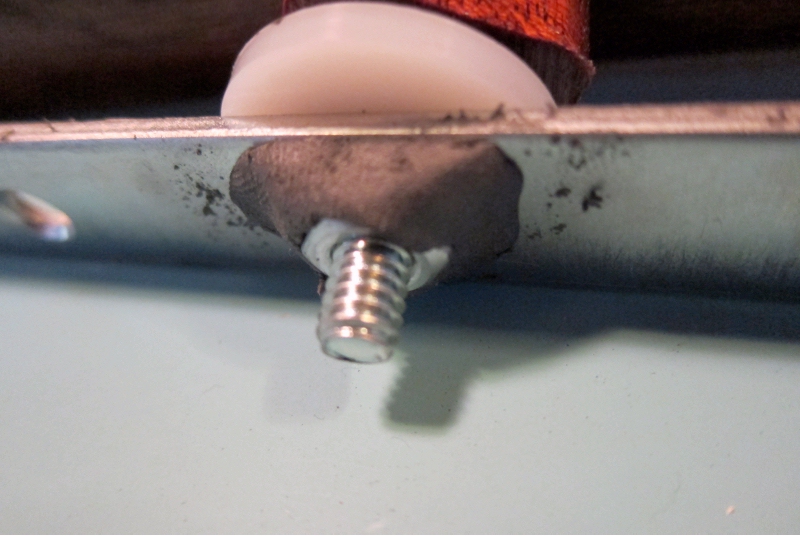
I use some plastic and rubber washers from the hardware store to seal the hole as well as help distribute structural loads evenly around the hole.
Once the plate is permanent, we cut the string and zip tie. Then put the bolts and spacers and rails back in.
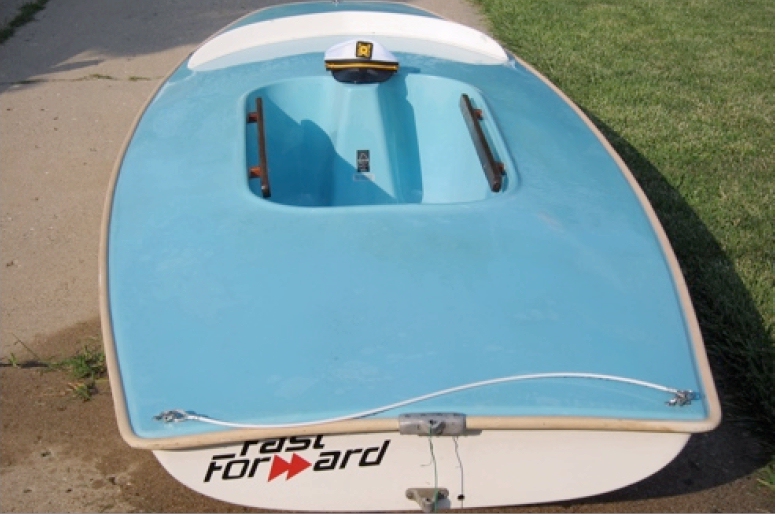
After the repair: now those rails are strong as, or stronger, than new. And you can remove and replace the rails at any time, without worrying about the backing plates falling out.
Best of all: the repair parts were only about 10 bucks... And no fiberglass surgery required!